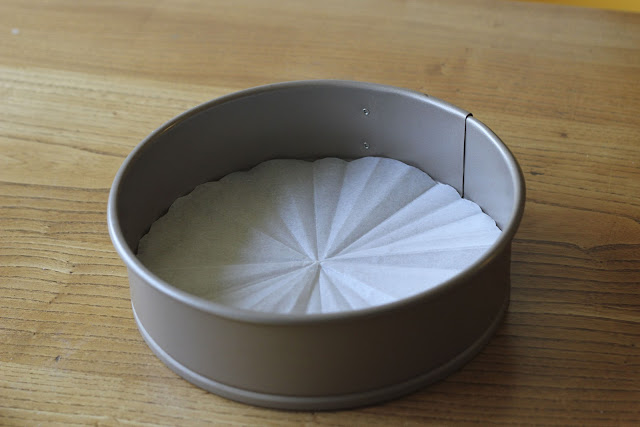
I have been toying with the idea of doing a series of Kitchen How To posts for a while now and thought I would start with lining a cake tin. Lining your cake tins saves you the worry of your cake sticking to the tin and helps the cake to rise well whilst baking. I have always lined the base, but I recently learnt how to do the sides. I had never attempted it before as I assumed it was tricky so I thought it was the perfect tutorial to start with as once you know how to do it, its so quick and easy to always do.
To line the base of your cake tin you can either cheat by buying pre-cut liners or make your own. To do this, firstly cut your paper to the correct width. Now keep folding in half till you end up with a small strip of paper. Place the pointed part in in the middle of the cake tin and then trim off the excess. You may need to unfold, check and trim a little more off.
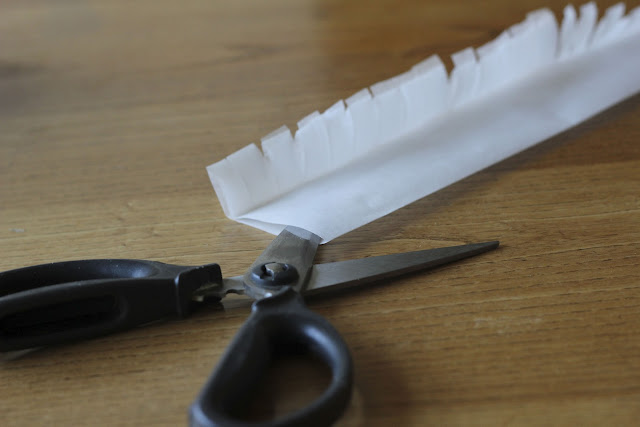
To line the sides you need a strip of greaseproof paper double the height of the sides of your cake tin plus 3 cm. Firstly fold it in half and then fold over the bottom, cut edge at the 3 cm length. Next, using scissors cut little tabs up to the fold you just made all the way along at 2-3 cm intervals. Finally, with the scissors cut along the top fold till you are left with 2 separate strips. Place these in the cake tin under the base circle you just made and then you're ready to get baking.


Ahaaa! Lining the sides was always the problem for me. I will try this next time.
ReplyDeleteGreat tutorial - I will definitely use it. I always had problems with the sides!
ReplyDeleteexcellent tip! thanks ;) i always just wing it and shove it in the tin. hahaha.
ReplyDeleteexcellent tip! thanks ;) i always just wing it and shove it in the tin. hahaha.
ReplyDelete